This post was written before I was ill. I guess the surgery was inevitable, but I didn't know it then and tried my best to fob it off as best as I could..
I love Caramel Custard - there I said it. I know you are supposed to have sophisticated tastes as you grow older - dark chocolate mousse, tiramisu, passionfruit cheesecake - but there's something to be said about comforting desserts. The kind you grew up eating, the one you made for the first time when you were 15 and tried cooking in an oven for the first time (yes, a cake was not my first attempt at baking), the kind that old colonial clubs have perfected to a T. Caramel custard is the one for me. I think its now called Caramel Pudding - but growing up we called it Caramel Custard - a relic of the British Raj I guess, when any dish which involved cooking egg and milk together, was called a custard.
I wasn't well the past month (my congenital digestive condition playing up big time) and had to go on a liquid diet for a couple of days. Then, as is inevitable, I lost some weight and my energy levels plummeted. Now that I'm back to eating solid food, I have taken to eating small portions several times.....not a great way to gain back weight - but we do what we have to do. Right now I'm just glad I'm able to eat and not giving any of my family members sleepless nights. So, this weekend, I decided I needed a bit of pampering.
Which in food terms translates to comfort food. And there is nothing more comforting than a warm, dessert redolent of caramel. No wonder my favourite Haagen Daaz flavour is Dulce de Leche - divine. I read one of this pop quizzes in a magazine, which tried to peg your "type" depending on the dessert you liked. Well, caramel pudding came back as "warm, loyal, the 12 am friend, generous". Fine by me, I say! (I am a Gemini - when I am craving Tiramisu, I morph into the "sexy, dangerous, intense type" ;)
Its been quite sometime since I made Caramel Pudding - a few years actually. So, I thought I should atleast look at a recipe in case I got the proportions wrong. Which is when I came across the Orange Caramel Pudding by Sanjeev Kapoor. This one had a nice twist which I had never tried before; so, since I had orange juice and a lone orange for the rind, I decided to give it a shot.
The caramel almost brought me to my knees though - three times, my attempt to make caramel came to naught. No, it didn't burn - it just turned into a dry mass of lumps - somewhat like
kalkand (
khadi saakhar). I couldn't believe that something I had churned out when I was just 15, was giving me so much grief. I wouldn't give up - (don't worry, if I'm stubborn, I'm also thrifty - the other versions were melted back with some more water into sugar syrup to be used for lemon juice in future!) -so for the fourth time, I referred to this
David Leibovitz recipe which talked about making caramel without water, just sugar. I decided to try it - I'm a big believer in not reinventing the wheel which is why I am able to believe in recipes which are tried and tested (the pictures as proof helped!)even if its not the way I usually do it. It worked perfectly - whew.
Basically, this method involves spreading the sugar in a heavy bottomed pan in an even layer and then warming it over medium heat till the water inherent in sugar starts melting the sugar slowly. This takes about 8-10 minutes totally (I realise that I have much less patience than even 5 years back, forget 20) and then it slowly starts caramelizing. It turns brown (do not stir before this happens) and that's the signal to slowly stir a little to get the sugar at the edges into the centre - do not overstir. About 5 minutes later, it melts into a beautiful golden brown syrup and then I stirred it at 2 minutes intervals ever so gently for another 4 minutes (I would reduce that to 2 minutes the next time).
20 minutes to attain that lovely, textured caramel flavour which takes any dessert to the next level. Melt butter or cream into it at this stage to make a caramel sauce or just pour directly into a vessel for a caramel pudding. I poured into a glass casserole and swirled it around to coat the bottom and some of the sides - it doesn't matter if there are a few gaps - as it cooks with the custard, it will melt and spread some more.
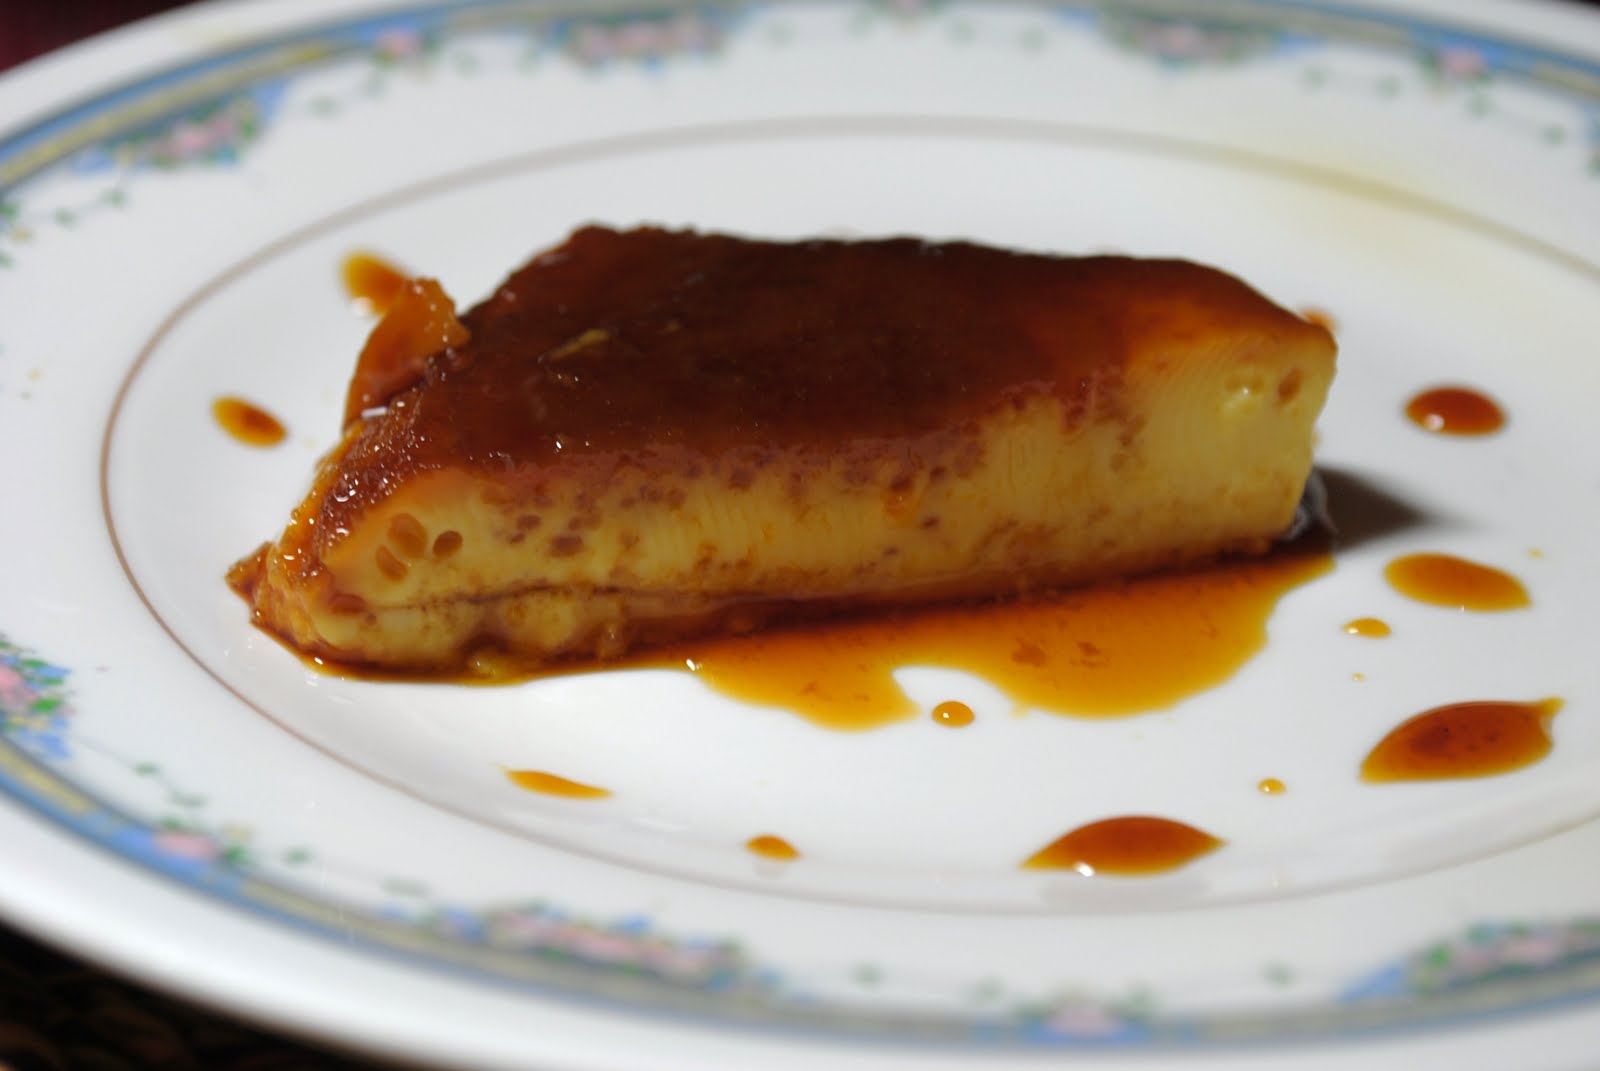
The final result was an amazing dish- well worth the multiple tries(which is now history, now that I know this much easier way to make caramel). The orange juice was a great addition - in fact, the next time I might even try to make this without the caramel. The orange flavour is subtle, yet very much there and makes this so much more than just a caramel pudding. And for all those who are skeptical, the pudding didn't curdle with the orange juice; and I didn't even bother sieving the custard mixture before baking it.
Orange Caramel Pudding
Adapted from this recipe by Sanjeev Kapoor
Ingredients:
Sugar - 1/2 cup for caramel
Eggs - 4
Sugar - 1 cup (castor sugar)
Orange juice - 1 cup
Orange rind 1 tsp-
boiled for 5 minutes in half a cup of water, cooled and then added to the orange juice.
Method:
1. Bring out the individual ramekins or glass baking dish in which you intend making the pudding.
For the caramel:
a.In a heavy bottomed pan, spread the sugar in an even layer - look
here for step-by-step instructions and pictures.
b. Heat on medium heat for about 8-10 minutes, till the sugar starts to melt in its own water and starts to turn brown. Slowly bring the sugar from the edges to the centre so that it melts uniformly but do not over stir. When it turns to a nice, brown, caramel coloured liquid (approx 5 minutes), cook for another 2-3 minutes and then take off flame and immediately pour into the ramekins or baking dish and swirl around so that the bottom and sides are coated with the caramel. Don't worry if this is not even.
2. Beat the eggs and sugar together till creamy. Heat the orange juice, orange rind reserved liquid mixture for 3 minutes, cool a little and then slowly add to the egg and sugar mixture.
3. Transfer this mixture (you can sieve at this stage) into the ramekins or baking dish. Pre-heat the oven to 180C
4. Fill a bigger oven proof bowl halfway with boiling water, place the ramekins or the baking dish into it, making sure the water will not be able to enter the bowls.
5. Bake in the pre heated oven at 180C (350F) for 45 minutes (the ramekins may take less time, check at 30 minutes.) The pudding will be set.
6. Remove and cool. To serve, turn upside down onto a plate - the caramel syrup will top the pudding since it is at the bottom.


